Streaming on Twitch and YouTube requires the right hardware, software, and setup to deliver high-quality content. Whether you’re a beginner or an experienced creator, a well-optimized setup can improve video quality, audio clarity, and viewer engagement. This guide will help you build a professional streaming setup for gaming, podcasts, or live shows.
1. Choosing the Right Streaming PC Setup
✔️ CPU: At least a 6-core processor (Intel i5-12600K, Ryzen 5 5600X).
✔️ GPU: A dedicated graphics card (RTX 3060 or better) for gaming and encoding.
✔️ RAM: 16GB DDR4/DDR5 for smooth multitasking.
✔️ Storage: SSD (1TB) to load games and software quickly.
💡 If gaming and streaming on one PC, get a strong CPU (Ryzen 7 7800X3D, Intel i7-13700K).
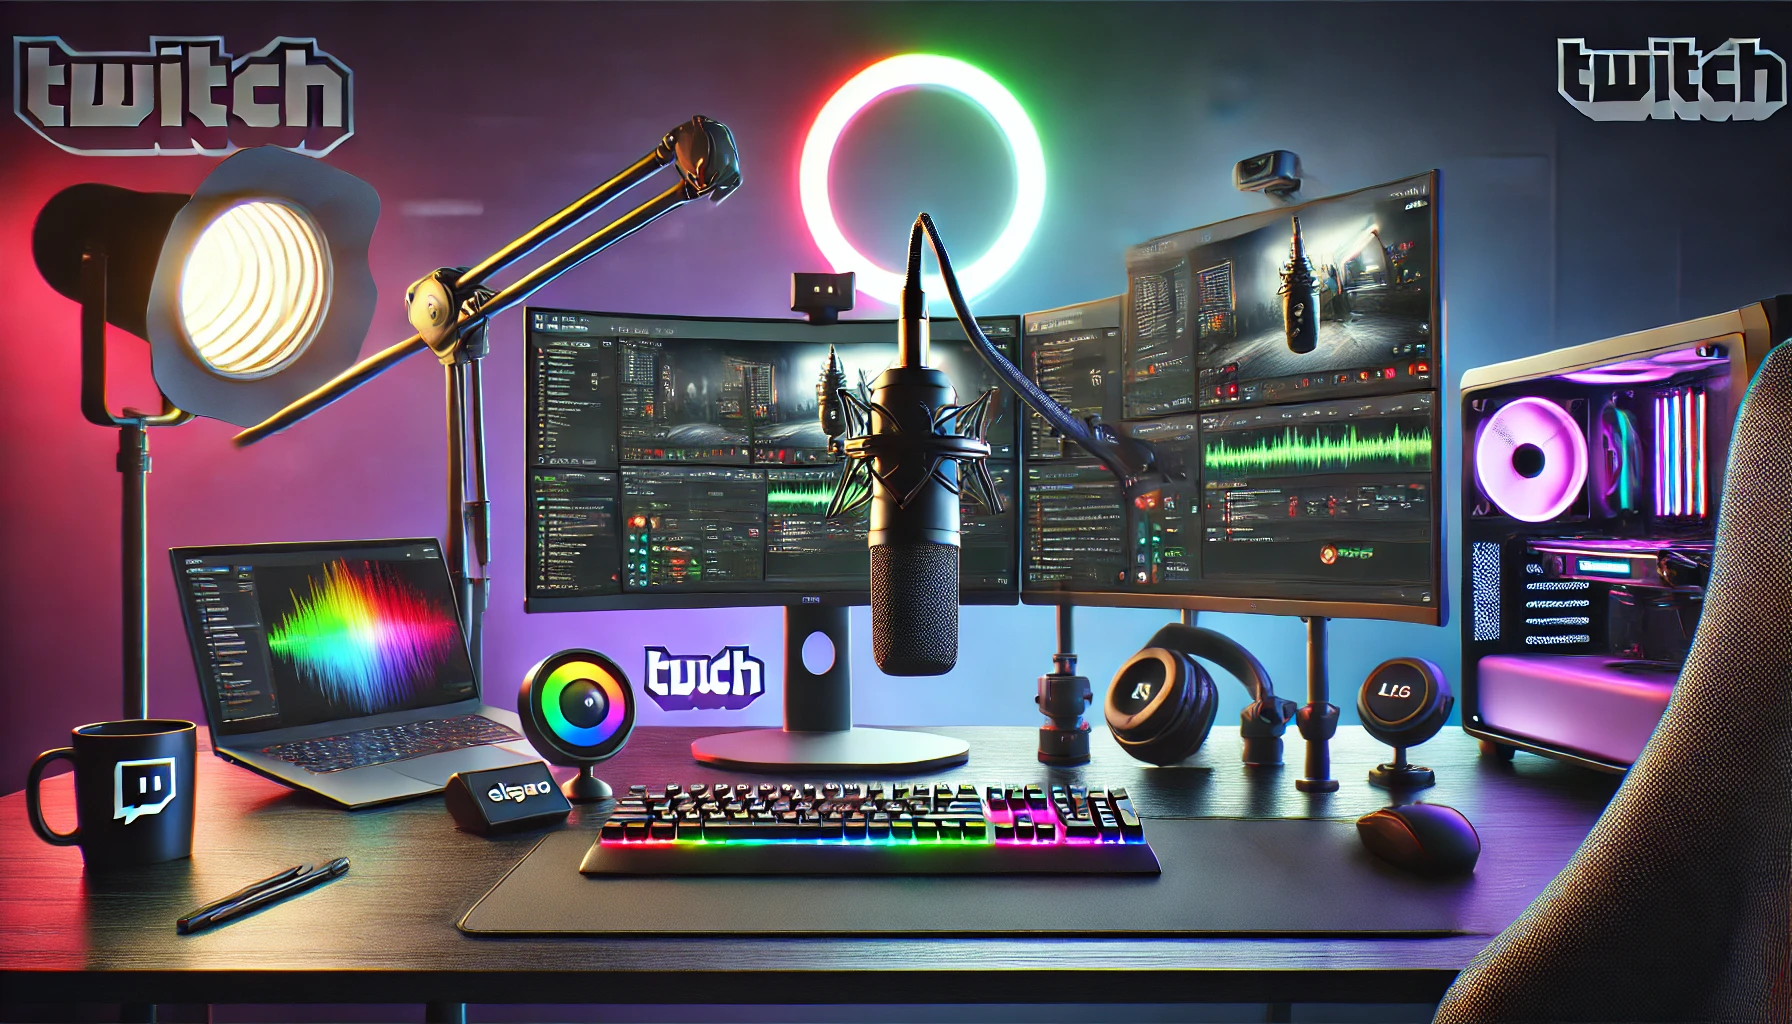
2. Choosing the Best Camera for Streaming
✔️ Budget: Logitech C920 (1080p, 30FPS) – Best for beginners.
✔️ Mid-Range: Elgato Facecam (1080p, 60FPS) – Crisp quality for serious streamers.
✔️ High-End: Sony A6000 + Cam Link 4K – DSLR quality for professionals.
💡 60FPS webcams make streams look smoother and more professional.
3. Choosing a High-Quality Microphone
✔️ USB Mics (Easy & Affordable): Blue Yeti, HyperX QuadCast.
✔️ XLR Mics (Pro Setup): Shure SM7B, Rode NT1 + Audio Interface (GoXLR, RodeCaster Pro).
💡 A good mic improves stream quality more than a webcam upgrade!
4. Choosing the Best Lighting for Your Stream
✔️ Ring Lights (Budget Option) – Even lighting for your face.
✔️ Softbox Lights (Professional Look) – Bright, diffused lighting for a studio effect.
✔️ Elgato Key Light (Best for Streaming) – Adjustable, compact, and high-quality.
💡 Proper lighting improves camera quality and makes your stream look more professional.
5. Setting Up a Capture Card for Console Streaming
✔️ Elgato HD60 X – Best for PS5/Xbox Series X streaming (1080p 60FPS, 4K passthrough).
✔️ AVerMedia Live Gamer 4K – Supports 4K60FPS recording.
💡 Capture cards allow high-quality console streaming on PC.
6. Choosing Streaming Software
✔️ OBS Studio (Free & Best Overall) – Open-source, customizable.
✔️ Streamlabs OBS (Beginner-Friendly) – Easier UI but uses more CPU.
✔️ XSplit (Paid, Premium Features) – Great for professional setups.
💡 OBS Studio is the best choice for most streamers.
7. Setting Up Overlays & Alerts
✔️ StreamElements & Streamlabs – Free overlays, alerts, and chat widgets.
✔️ Nerd or Die, OWN3D, Placeit – Premium overlay designs.
💡 A professional overlay makes your stream stand out!
8. Choosing the Best Streaming Accessories
✔️ Stream Deck (Elgato) – Quick access to stream controls.
✔️ Green Screen (Elgato or Neewer) – Removes background distractions.
✔️ Boom Arm (Rode PSA1, Elgato Wave Arm) – Positions your mic perfectly.
💡 A Stream Deck helps control your stream without alt-tabbing.
9. Optimizing Internet Speed for Streaming
✔️ Upload Speed: At least 6Mbps for 1080p60 streaming.
✔️ Use Wired Ethernet: Reduces lag and connection drops.
✔️ Set Bitrate Correctly:
- 1080p 60FPS → 6000 Kbps
- 720p 60FPS → 4500 Kbps
💡 Wired internet ensures a stable, lag-free stream.
10. Testing & Going Live
✔️ Run a Test Stream – Check audio, video, and overlays.
✔️ Engage with Chat – Use a second screen or phone to read messages.
✔️ Promote Your Stream – Share on social media and Discord.
💡 Interaction is key – respond to chat and keep viewers engaged!
Final Thoughts
A well-optimized streaming setup improves video quality, engagement, and stream growth.
💡 Key Takeaways:
✅ A strong CPU and GPU are needed for smooth streaming.
✅ A good mic is more important than a high-end webcam.
✅ Lighting and overlays make your stream look professional.
✅ Use wired internet for stable, high-quality streaming.