Building a PC from scratch may seem daunting, but it is an exciting and rewarding process. Whether you want a gaming powerhouse, a workstation, or a budget-friendly setup, assembling your own computer allows you to customize every component according to your needs.
This guide will walk you through everything you need to know to build your first PC, from choosing components to assembling and troubleshooting.
1. Choosing Your PC Components
Before you start building, you need to select the right hardware. Each component plays a crucial role in performance and compatibility.
1.1 Processor (CPU)
The Central Processing Unit (CPU) is the brain of your computer. You must choose a CPU that meets your performance needs and is compatible with your motherboard.
- Intel vs. AMD: Intel’s Core i5/i7 and AMD’s Ryzen 5/7 are excellent mid-range choices. For high-performance tasks, go for Intel Core i9 or AMD Ryzen 9.
- Use case: If you’re gaming, focus on high clock speeds. If you’re editing or rendering, go for more cores and threads.
1.2 Motherboard
Your motherboard connects all your components. When choosing a motherboard, consider:
- Socket compatibility: Ensure it matches your CPU (e.g., LGA 1700 for Intel, AM5 for AMD).
- Form factor: ATX (standard size), Micro-ATX (smaller), Mini-ITX (compact).
- Features: Number of RAM slots, PCIe slots, M.2 support, Wi-Fi, and USB ports.
1.3 Memory (RAM)
RAM affects multitasking and overall speed.
- Minimum: 16GB is ideal for gaming and general use.
- For high performance: 32GB+ is better for video editing and streaming.
- Speed: Look for DDR4 or DDR5 with speeds above 3200MHz for better performance.
1.4 Storage (SSD vs. HDD)
Your storage choice affects loading speeds and overall performance.
- SSD (Solid State Drive): Faster boot times and file transfers. Go for NVMe SSDs if possible.
- HDD (Hard Disk Drive): Cheaper and better for bulk storage, but slower than SSDs.
- Recommendation: A 500GB SSD for the OS and frequently used apps, plus a 2TB HDD for extra storage.
1.5 Graphics Card (GPU)
For gaming and content creation, the Graphics Processing Unit (GPU) is critical.
- For gaming: NVIDIA RTX 4060/4070 or AMD Radeon 7700 XT.
- For professional work: Consider NVIDIA RTX 4080/4090 or AMD Radeon 7900 XTX.
- Budget GPUs: NVIDIA GTX 1660 Super or AMD RX 6600.
1.6 Power Supply Unit (PSU)
Your PSU must provide enough power to run all components safely.
- Calculate your wattage: Use an online PSU calculator to estimate power needs.
- Go for a reliable brand: Corsair, EVGA, Seasonic, or Cooler Master.
- Choose 80+ certification: 80+ Bronze (budget), 80+ Gold (better efficiency), or 80+ Platinum (best for high-end PCs).
1.7 Case (Chassis)
Your PC case affects airflow, cooling, and aesthetics.
- Size matters: Ensure it fits your motherboard (ATX, Micro-ATX, Mini-ITX).
- Cooling options: Check for ventilation, fan support, and liquid cooling compatibility.
- Cable management: Look for cases with good cable routing and PSU shrouds.
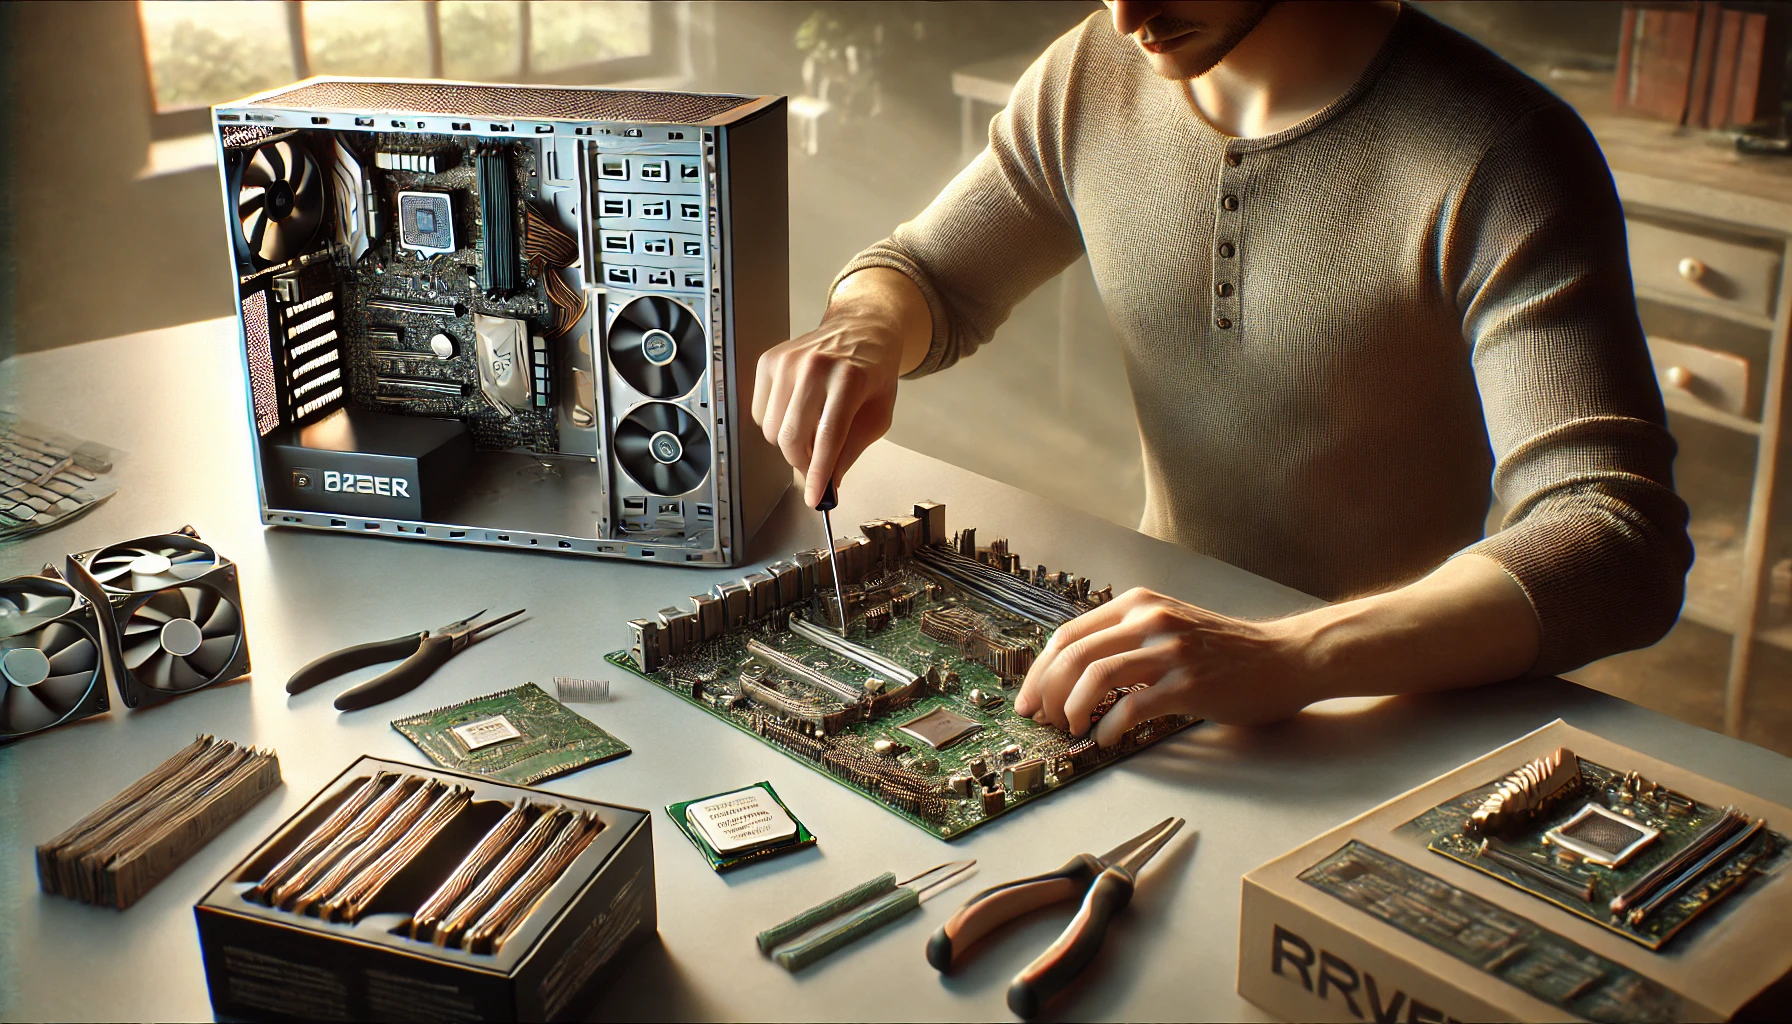
2. Assembling Your PC – Step-by-Step
Once you have your components, it’s time to assemble your PC.
Step 1: Prepare Your Workspace
- Find a clean, static-free surface.
- Use an anti-static wrist strap to prevent electrostatic discharge (ESD).
- Gather tools: A Phillips-head screwdriver, zip ties, and a thermal paste (if needed).
Step 2: Install the CPU
- Open the CPU socket on the motherboard.
- Align the CPU with the triangle marker and gently place it in the socket.
- Secure it with the socket lever.
Step 3: Install RAM
- Find the RAM slots on your motherboard.
- Align the RAM stick and push it in until you hear a click.
- If using two sticks, install them in alternate slots for dual-channel performance.
Step 4: Install the Storage (SSD/HDD)
- For M.2 SSDs, insert it at an angle, press it down, and secure it with a screw.
- For SATA SSDs or HDDs, mount them in drive bays and connect the SATA cables.
Step 5: Install the PSU
- Place the PSU in its compartment (usually at the bottom of the case).
- Connect the main 24-pin cable to the motherboard.
- Connect CPU power (8-pin) and PCIe power for GPU if needed.
Step 6: Install the GPU
- Find the PCIe x16 slot on the motherboard.
- Remove the expansion slot covers on the case.
- Firmly insert the GPU and secure it with screws.
- Connect PCIe power cables if required.
Step 7: Cable Management
- Route cables through backside cutouts for better airflow.
- Use zip ties to keep cables organized.
- Ensure all power connections are secure.
Step 8: Install Cooling System
- If using an air cooler, attach it to the CPU with thermal paste.
- If using liquid cooling, follow the manufacturer’s installation guide.
- Ensure case fans are positioned for proper airflow (front = intake, rear = exhaust).
3. First Boot and BIOS Setup
Before installing an operating system, verify that everything is working.
Step 1: Power On the PC
- If it doesn’t turn on, check cable connections and power supply switch.
- If no display appears, reseat RAM and GPU.
Step 2: Enter BIOS
- Press DEL or F2 on startup to access BIOS.
- Check if CPU, RAM, and storage are detected.
- Enable XMP/DOCP for RAM to run at full speed.
4. Installing Windows and Drivers
Step 1: Install Windows
- Create a Windows USB installer using another PC.
- Insert the USB and boot from it.
- Follow the on-screen instructions to install Windows 11 or Windows 10.
Step 2: Install Drivers
- Download the latest drivers for motherboard, GPU, and peripherals.
- Install updates for better performance and security.
Final Thoughts: Enjoy Your Custom PC!
Congratulations! 🎉 You have successfully built your own PC. Now, you can install your favorite software, games, and programs and start using your system.
Building a PC is an amazing experience that lets you customize performance, aesthetics, and future upgrades. If you have any issues, refer to troubleshooting guides or online forums for help.