A custom water-cooled PC offers superior cooling, quieter operation, and an aesthetic boost, making it ideal for gaming, overclocking, and high-performance workloads. While it requires careful planning, high-quality components, and maintenance, a well-built liquid cooling system ensures lower temperatures, better performance, and longer hardware lifespan. This guide will walk you through the step-by-step process of building a custom water-cooled PC.
1. Understanding Custom Water Cooling vs. AIO Coolers
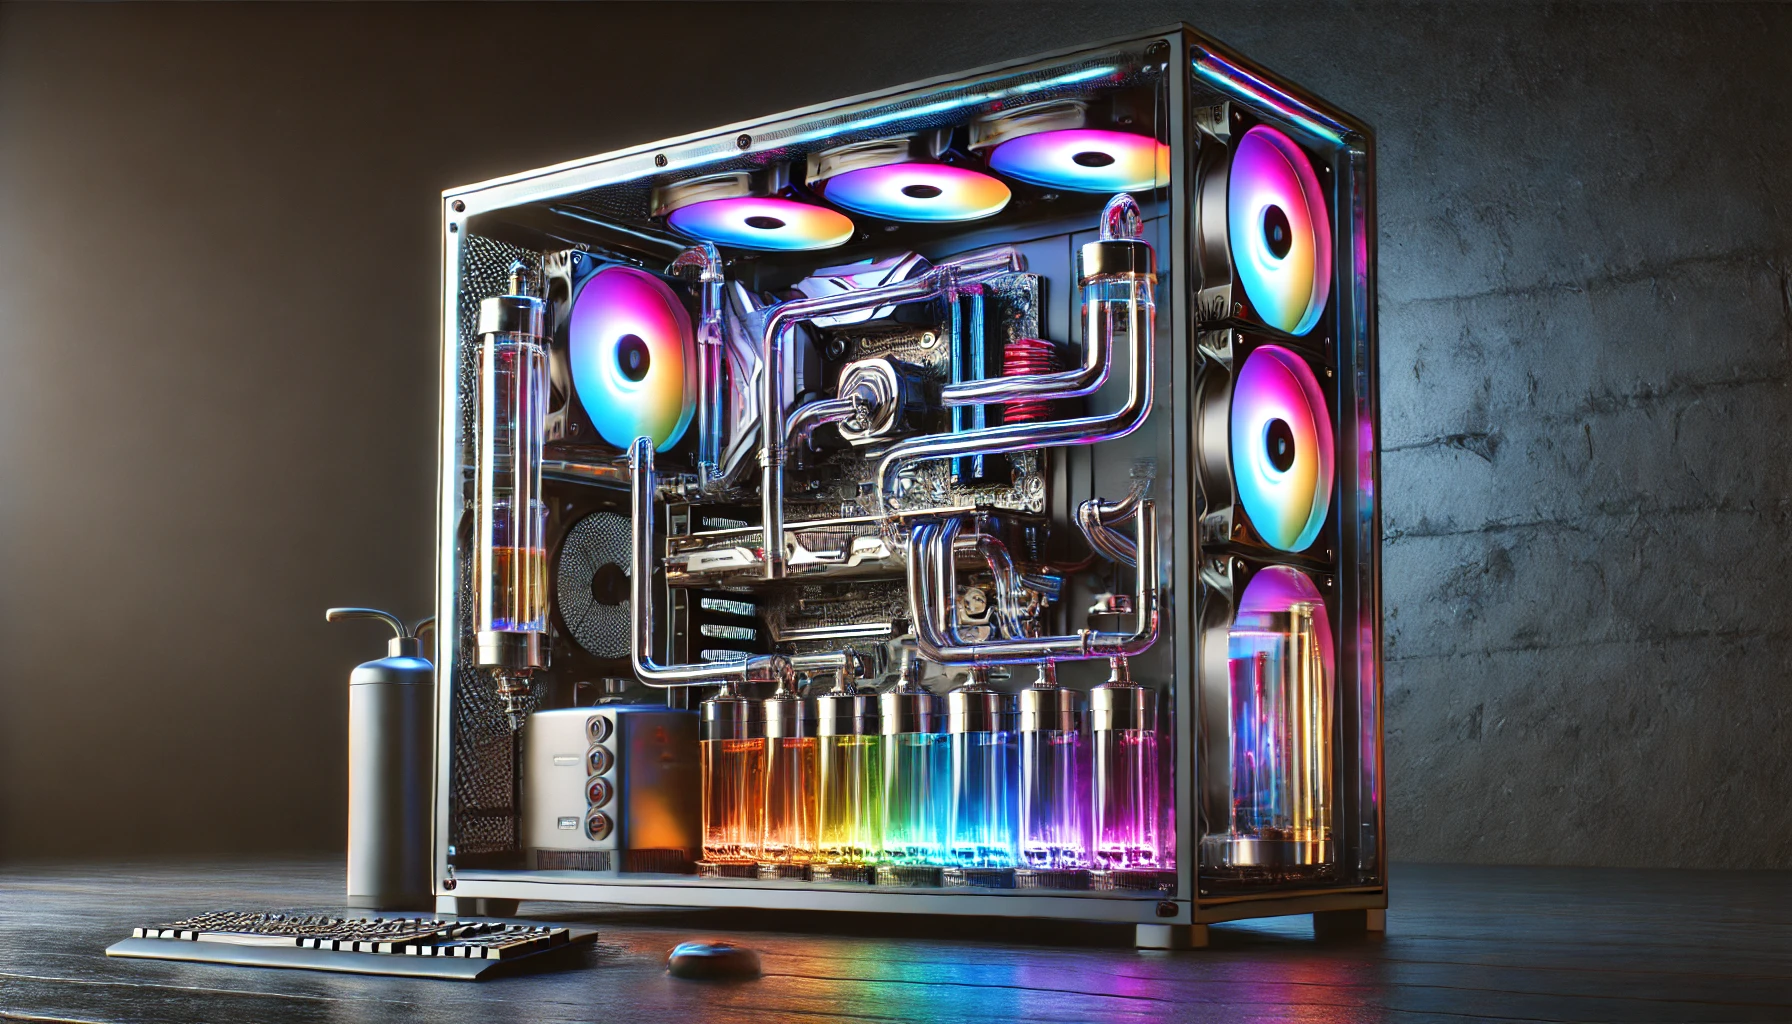
✔️ Custom Water Cooling (Open Loop)
- Best for overclocking and extreme cooling.
- Uses tubing, radiators, pumps, and reservoirs for maximum efficiency.
- Highly customizable (RGB, hardline tubing, colored coolant).
✔️ All-in-One (AIO) Liquid Cooling
- Easier to install but not as customizable.
- Ideal for mid-range builds and CPU cooling only.
- Less maintenance compared to custom loops.
💡 If you’re building a high-performance gaming rig or workstation, a custom loop is the best choice.
2. Choosing the Right Case for Water Cooling
✔️ Best Full-Tower Cases (Supports Multiple Radiators)
- Lian Li O11 Dynamic XL – Large space, great airflow.
- Corsair 7000D Airflow – Best for custom loops and large radiators.
✔️ Best Mid-Tower Cases (Compact but Supports Water Cooling)
- Fractal Design Torrent – Excellent radiator mounting options.
- NZXT H7 Flow – Good balance of space and cooling.
💡 A case with good radiator mounting and airflow is essential for water cooling.
3. Choosing a Water Block for Your CPU & GPU
✔️ Best CPU Water Blocks:
- EK Quantum Velocity 2 (Premium cooling & design).
- Corsair XC7 RGB (Great budget-friendly option).
✔️ Best GPU Water Blocks (Compatible with Specific GPU Models):
- EK-Quantum Vector (For RTX 4090, 4080, 3090, 3080).
- Alphacool Eisblock Aurora (Great alternative for AMD GPUs).
💡 Always check compatibility with your CPU & GPU before buying water blocks.
4. Choosing the Right Pump & Reservoir Combo
✔️ Best Pump-Reservoir Combos:
- EK Quantum Kinetic TBE D5 (Best for powerful loops).
- Corsair Hydro X XD5 (Reliable D5 pump option).
- Alphacool Eisstation VPP (Compact and quiet).
💡 A D5 pump is preferred for high-performance builds, while a DDC pump is compact but less powerful.
5. Choosing the Right Radiators & Fans
✔️ Best Radiators for Custom Water Cooling:
- EK CoolStream PE 360mm (Best for triple-fan setups).
- Corsair XR7 480mm (Large radiator for max cooling).
- Alphacool NexXxoS ST30 (Slim radiator for tight spaces).
✔️ Best Fans for Water Cooling Radiators:
- Noctua NF-A12x25 (Ultra-quiet, high airflow).
- Corsair ML120 Pro (Magnetic levitation, great for cooling).
- Lian Li UNI FAN SL120 (Great RGB & performance balance).
💡 The more surface area your radiator has, the better your cooling efficiency.
6. Choosing Tubing & Fittings
✔️ Soft Tubing vs. Hard Tubing:
- Soft Tubing (Easier to install, flexible, but less durable).
- Hard Tubing (More aesthetic, requires bending, longer-lasting).
✔️ Best Tubing Materials:
- PETG (Easy to bend, affordable).
- Acrylic (Better clarity but more difficult to work with).
✔️ Best Compression Fittings:
- EK Quantum Torque (Premium quality & leak-proof).
- Bitspower Matte Black (Reliable and stylish).
💡 Hard tubing requires special bending tools but offers a cleaner aesthetic.
7. Choosing the Best Coolant for Your Loop
✔️ Best Pre-Mixed Coolants (Easy & Reliable):
- Corsair XL5 Performance Coolant (Non-conductive, vibrant colors).
- EK CryoFuel Solid (Best for long-term reliability).
✔️ Best DIY Coolants (Distilled Water + Additives):
- Mayhems Biocide & Inhibitor (Prevents algae and corrosion).
- Alphacool Cape Kelvin Catcher (For ultra-clear loops).
💡 Avoid automotive coolants—use PC-specific coolants to prevent clogs.
8. Assembling & Installing the Custom Loop
Step 1: Install the Water Blocks
- Attach the CPU water block to your processor.
- Mount the GPU water block (follow the manufacturer’s instructions).
Step 2: Mount the Radiator & Fans
- Attach the radiator to the top/front/bottom of your case.
- Install push-pull fan configuration for better airflow.
Step 3: Install the Pump & Reservoir
- Place the reservoir in a secure location (usually near the radiator).
- Connect the pump to your motherboard’s PWM header for speed control.
Step 4: Cut & Install Tubing
- Measure and cut tubing precisely to avoid leaks.
- Secure tubing with compression fittings.
Step 5: Fill the Loop & Test for Leaks
- Use a filling bottle to add coolant slowly.
- DO NOT power on the PC yet! Use a power jumper on the PSU to test the pump.
- Let it run for 24 hours to check for leaks before powering on the system.
💡 Proper leak testing prevents catastrophic failures when powering on the PC.
9. Optimizing Your Custom Loop for Performance
✔️ Set a Balanced Fan Curve in BIOS for Silent Cooling.
✔️ Monitor Coolant Temperatures Using Software (HWMonitor, Corsair iCUE).
✔️ Flush & Replace Coolant Every 6-12 Months to Prevent Buildup.
💡 Proper maintenance keeps the system running efficiently for years.
10. Best Use Cases for Custom Water Cooling
✔️ Best for High-End Gaming Rigs & Overclocking (RTX 4090, Ryzen 9 7950X).
✔️ Ideal for Workstations & AI/Machine Learning PCs (Threadripper, Intel Xeon).
✔️ Perfect for Showpiece Builds & RGB Customization.
💡 A custom loop isn’t necessary for every PC but provides extreme cooling and aesthetics.
Final Thoughts
Building a custom water-cooled PC requires planning, precision, and maintenance, but the result is better cooling, lower noise levels, and an aesthetically stunning setup.
💡 Key Takeaways:
✅ Use high-quality components to avoid leaks & failures.
✅ Measure and cut tubing carefully for a clean installation.
✅ Perform a 24-hour leak test before powering on your PC.
✅ Maintain your cooling loop regularly for peak performance.