Building a PC requires assembling multiple components in a specific order to ensure everything fits properly and functions correctly. If done incorrectly, you might encounter compatibility issues, unnecessary troubleshooting, or even hardware damage. This guide will walk you through the correct step-by-step order to assemble a PC.
Anúncio
1. Prepare Your Workspace
Before starting, ensure you have:
- A clean, static-free surface
- A screwdriver (preferably magnetic)
- An anti-static wrist strap (optional but recommended)
- All necessary PC components ready and unboxed
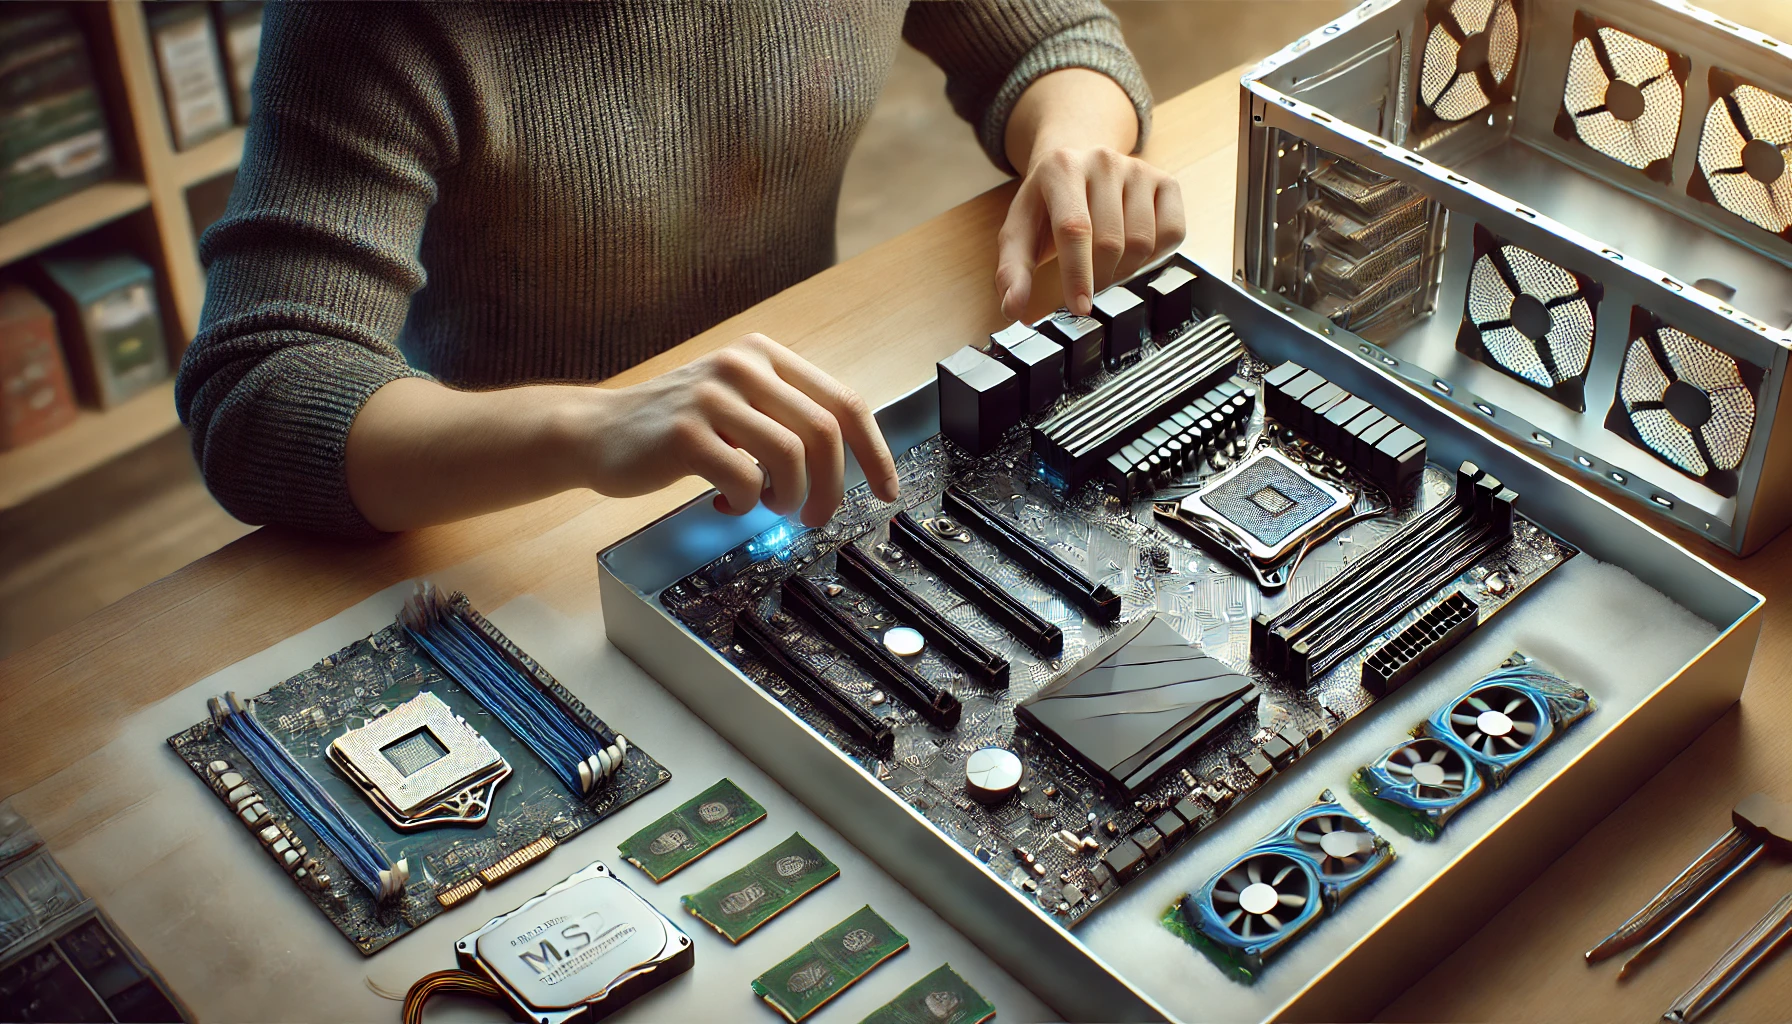
2. Install the CPU on the Motherboard
The CPU should be installed before placing the motherboard inside the case.
- Open the CPU socket latch on the motherboard.
- Align the CPU correctly with the markers (golden triangle or notch).
- Carefully place it in the socket without applying force.
- Lock it into place using the socket lever.
3. Install the RAM Modules
Installing RAM before placing the motherboard inside the case makes the process easier.
- Check your motherboard’s manual for the correct RAM slot arrangement.
- Open the RAM slot clips and align the RAM sticks properly.
- Firmly press down until they click into place.
4. Attach the M.2 SSD (If Applicable)
If you’re using an M.2 SSD:
- Locate the M.2 slot on the motherboard.
- Insert the SSD at a 30-degree angle.
- Secure it with the provided screw.
5. Mount the Motherboard into the Case
Now that key components are installed, you can place the motherboard inside the case.
- Install the I/O shield in the back panel if necessary.
- Align the motherboard with the standoffs in the case.
- Secure it using screws without overtightening.
6. Install the Power Supply (PSU)
- Slide the PSU into the case (usually at the bottom or top-rear).
- Secure it with screws.
- Route the necessary power cables for the motherboard and GPU.
7. Install Storage Drives (HDDs, 2.5” SSDs)
If using SATA storage:
- Mount HDDs or SSDs into drive bays.
- Connect SATA power and data cables to the motherboard.
8. Install the Graphics Card (GPU)
- Locate the PCIe x16 slot on the motherboard.
- Remove the necessary expansion slot covers.
- Firmly insert the GPU into the slot.
- Secure it with screws and connect power cables if required.
9. Connect Cables and Power Up
- Connect the front panel cables (power button, USB, audio).
- Attach PSU cables to the motherboard, CPU, and GPU.
- Connect fans and RGB lighting if applicable.
10. Test Before Closing the Case
Before closing the case, test your build:
- Connect the monitor and power on the PC.
- Enter BIOS to check if all components are detected.
- If everything works, close the case and install the operating system.